If you’re anything like me, there are days when all you want is something warm, cheesy, and comforting—but without the heaviness of regular bread. These cauliflower breadsticks are just that. They’ve got that bubbly, golden cheese on top, the edges get perfectly crisp, and the best part? They’re made from cauliflower. I’ve been making them for a while now, and trust me, nobody misses the flour.
 Why I Keep Coming Back to These Breadsticks
These aren’t one of those “healthy swaps” that leaves you wishing for the real thing. These actually hit the spot. They hold together when you pick them up (which a lot of cauliflower recipes don’t), and they’re loaded with flavor thanks to a good mix of cheese and seasoning.
I started making them when I was on a low-carb kick, but they’ve stuck around in our house long after. My son loves them with ketchup, I love them with marinara, and they’re always gone way too fast. I often double the batch just so I can freeze a few for later.
What You’ll Need
-
Cauliflower – One medium-large head (about 3 to 3.5 pounds) or frozen riced cauliflower.
-
Eggs – Two whole eggs, or egg whites if you’re keeping it light.
-
Cheese – Mozzarella is my go-to, but a mix of mozzarella and parmesan adds great texture and flavor.
-
Seasoning – I usually go with Italian seasoning, garlic powder, salt, and black pepper.
-
Dipping Sauce – Marinara is the classic, but ranch or a spicy dip also works great.
How I Make These Step-by-Step
1. Rice the Cauliflower
Break your cauliflower into florets and pulse it in a food processor until it looks like rice. Don’t worry about a few chunky bits—they add texture.
2. Cook and Cool
Bake the riced cauliflower at 375°F for about 20 minutes to pull out moisture. Once it’s cool enough to touch, transfer it to a clean kitchen towel and squeeze out as much liquid as you can. I usually get close to a cup of liquid out.
3. Mix Everything Together
In a big bowl, mix the drained cauliflower, eggs, half the cheese, and your seasonings. It should look like sticky dough that holds together.
4. Shape and Bake
Spread the mixture on a parchment-lined baking sheet into a rectangle about ¼-inch thick. Bake at 450°F for 18 minutes, then sprinkle on the rest of the cheese and bake for another 5 minutes until bubbly and golden.
5. Cool and Slice
Let them sit for 10 minutes to firm up, then cut into breadsticks and serve warm with your favorite dip.
Fun Add-In Ideas
-
Spicy kick – Add red pepper flakes or jalapeños to the topping.
-
Fresh herbs – Basil or parsley adds a bright touch.
-
Pesto twist – Spread a little pesto before the cheese goes on.
-
Olives or goat cheese – If you’re feeling fancy, throw a few on top before baking.
-
Vegan cheese – Melty vegan cheese works if you’re skipping dairy.
 Real-Life Tips That Make a Difference
-
Drain, drain, drain. The drier your cauliflower, the crispier your breadsticks. I take breaks between squeezes.
-
Flip trick. For extra crunch, flip the base before the final cheese layer.
-
Prevent sticking. Spray your parchment lightly or use a silicone baking mat.
-
Loose dough fix. If it feels too wet, a spoon of almond flour helps.
-
Save the juice! I often pour the squeezed liquid into soups or stews later—it’s loaded with nutrients.
Questions I Get Asked Often
Can I use frozen cauliflower rice?
Yes! Just thaw and squeeze out the water well.
Can I make it without cheese?
You can skip the topping, but you need some cheese inside the dough for it to hold together.
Do I need to grease parchment?
I usually do, just to be safe—especially with thinner or budget parchment paper.
Can I use a pizza stone?
Yes! It actually makes the base extra crispy.
Can I freeze them?
Absolutely. I bake, cool, then freeze in a flat layer.
Can I skip the egg?
I haven’t tried it, but if you experiment with an egg substitute, make sure the dough still holds together.
 How I Serve These at Home
These breadsticks make a great snack when everyone’s hovering around the kitchen before dinner. I usually serve them with:
-
Warm marinara or spicy tomato sauce
-
Ranch dressing or Caesar
-
Alongside pizza for an extra low-carb side
-
As part of a party snack spread with wings or roasted veggies
They’re also great packed into lunchboxes—my kid dunks them in ketchup and never asks what’s inside.
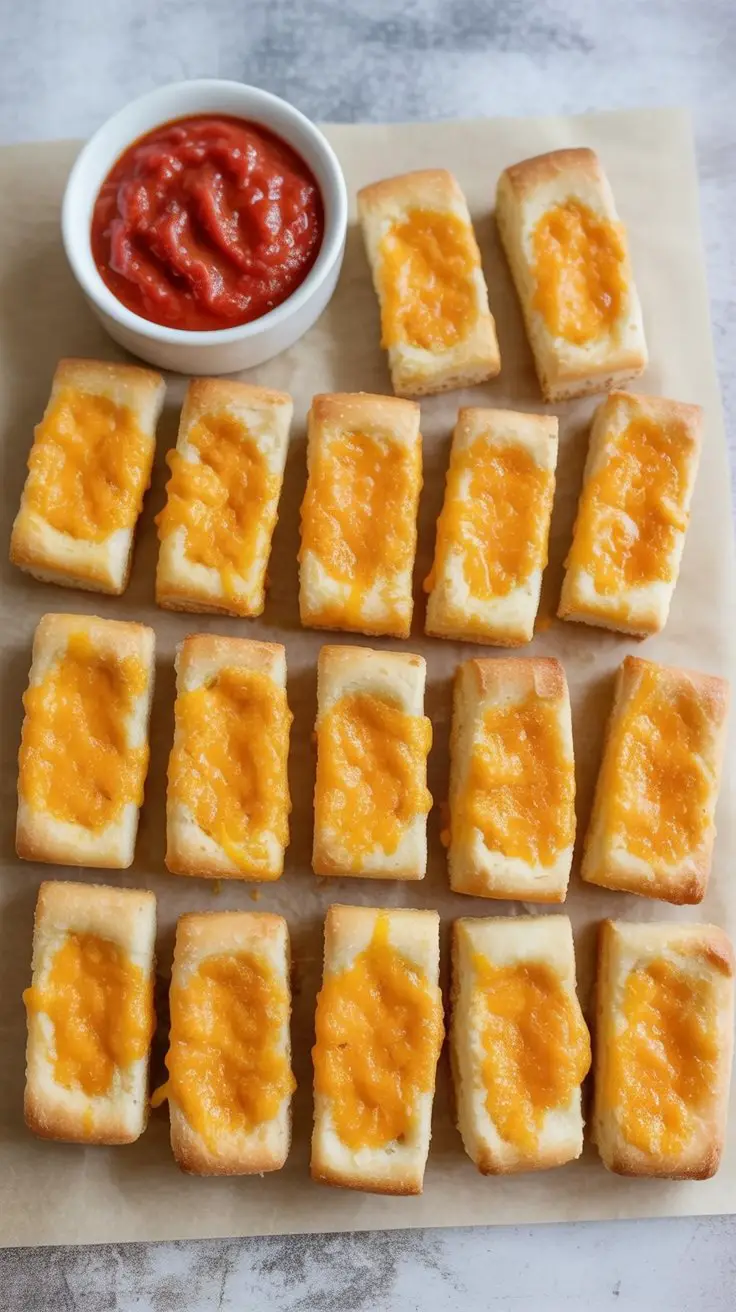
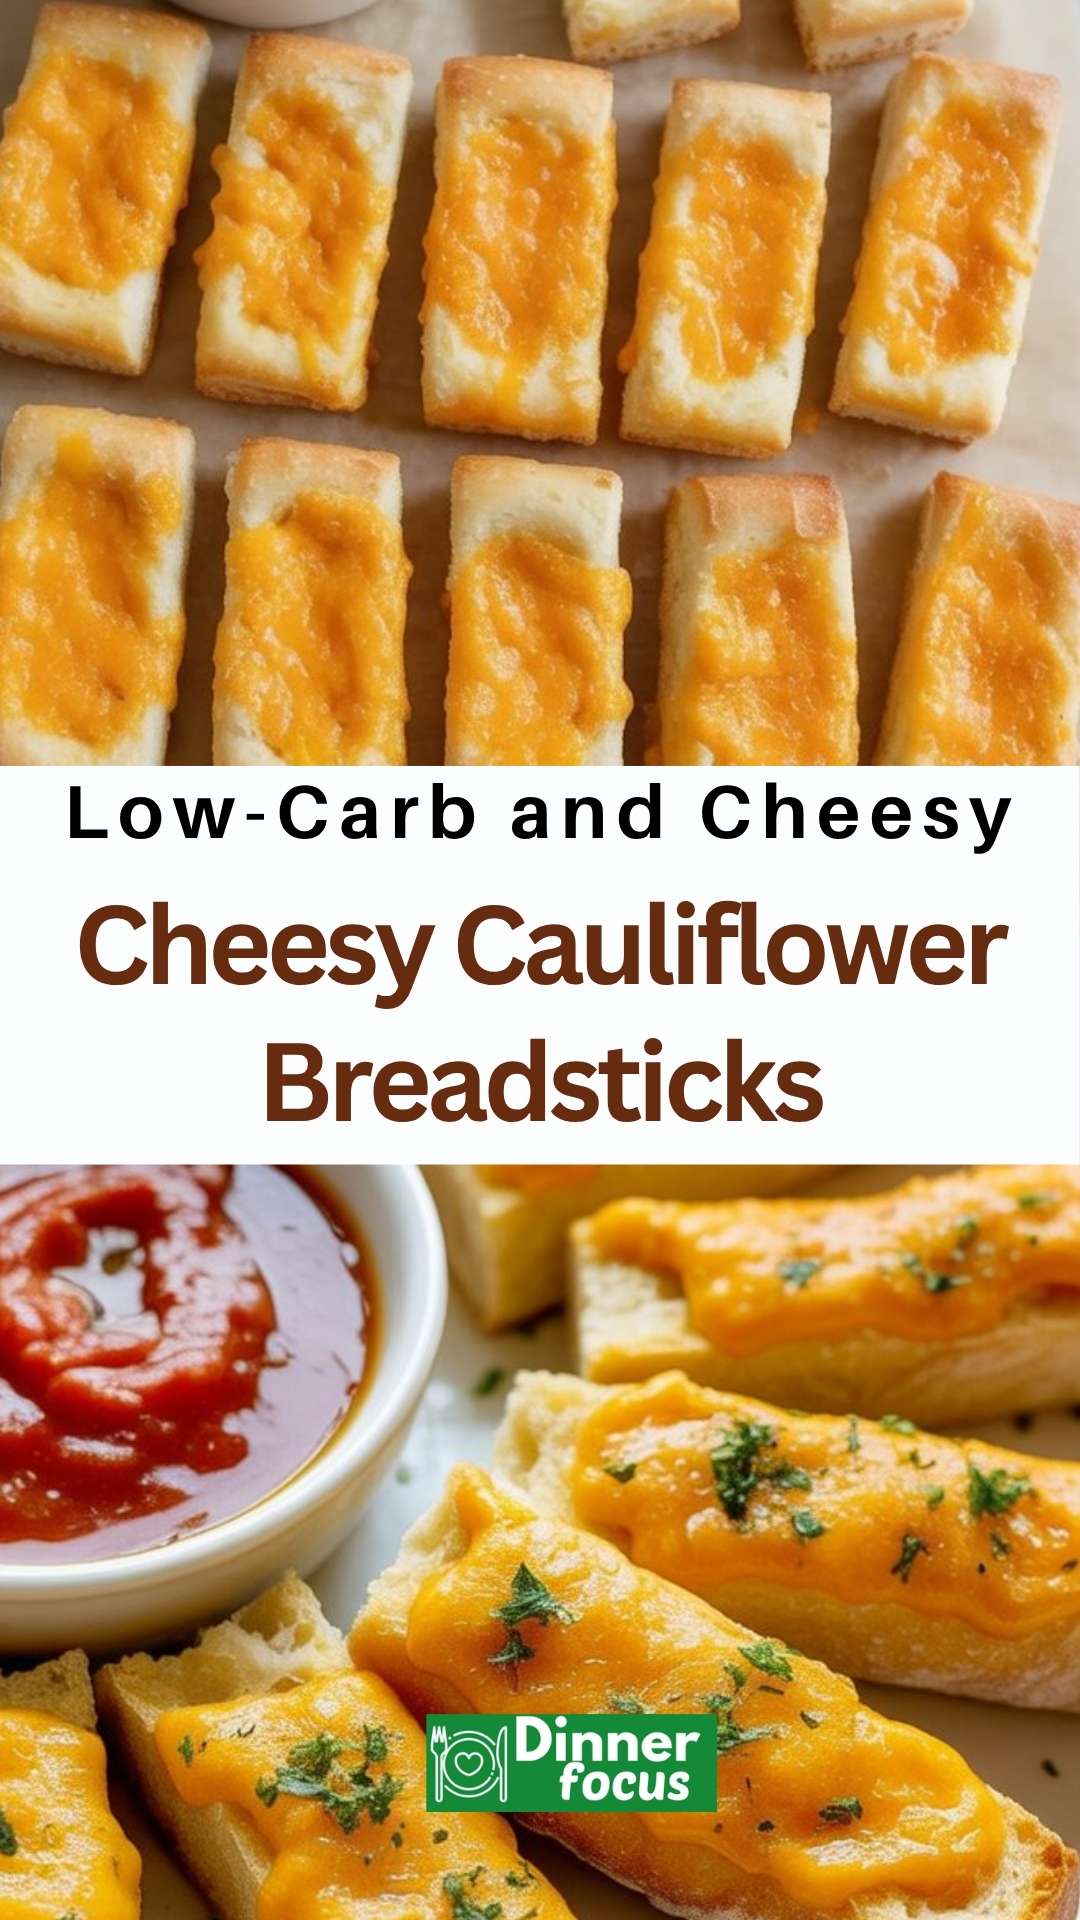
Cheesy Cauliflower Breadsticks

These cheesy cauliflower breadsticks are a cozy, low-carb twist on your favorite comfort food. Think golden edges, melty cheese on top, and a texture sturdy enough to dip without falling apart.
Ingredients
- 1 ¼ cups shredded Mozzarella or Tex-Mex cheese, divided
- 1/4 cup egg whites (or 2 whole eggs)
- 6 cups cauliflower rice (from one large head or 16–18 oz store-bought)
- 1 teaspoon Italian seasoning (or dried oregano or basil)
- A pinch of salt
- 1/4 teaspoon ground black pepper
- Marinara sauce, for dipping
- Cooking spray (optional, if needed for parchment)
Instructions
- Start by preheating your oven to 375°F. If you’re using a whole head of cauliflower, chop it into florets and pulse in a food processor until it reaches a rice-like texture. A few coarse bits are fine.
- Spread the riced cauliflower into an oven-safe dish (a glass pie dish works well) and bake uncovered for 20 minutes. Once baked, let it cool slightly—just enough so you can handle it without burning your hands.
- Transfer the warm cauliflower to a clean kitchen towel, wrap it up tightly, and squeeze out as much moisture as you can. You’ll be surprised how much liquid comes out—really go for it, as this helps the breadsticks hold together.
- Now crank up your oven to 450°F. In a mixing bowl, combine the squeezed-out cauliflower with egg whites, ½ cup of the shredded cheese, seasoning, salt, and pepper. Stir everything together until evenly mixed.
- Line a baking sheet with parchment paper (a light spray of cooking spray here can help with sticking). Press the cauliflower mixture into a rectangle—aim for about 9×7 inches and roughly ¼-inch thick.
- Bake for 18 minutes, then remove the pan and sprinkle the remaining ¾ cup of cheese on top. Return to the oven for another 5 minutes, then broil for a minute or two until the cheese is bubbly and golden.
- Let it cool slightly, slice into 12 breadsticks, and serve warm with your favorite marinara.
Notes
- Make Ahead: You can shape the breadsticks and freeze the unbaked crust. Let it thaw before adding the cheese topping and baking.
- To Store: Keep leftovers in the fridge for up to 2 days, or freeze for up to a month (wrap well).
- To Reheat: Warm in a 350°F oven for crispiness, or microwave for a softer texture.
Nutrition Information
Yield
12Serving Size
1Amount Per Serving Calories 58Total Fat 3gSaturated Fat 2gTrans Fat 0gUnsaturated Fat 1gCholesterol 8mgSodium 159mgCarbohydrates 4gFiber 1gSugar 2gProtein 4g
Dinnerfocus.com, occasionally offers nutritional information for recipes contained on this site. This information is provided as a courtesy and is an estimate only. This information comes from online calculators. Although allchickenrecipes.com attempts to provide accurate nutritional information, these figures are only estimates.
Make Ahead and Storage Notes
Make ahead:
Shape the cauliflower base and freeze it unbaked. Wrap it well and bake from thawed when you’re ready.
Store:
They’re best fresh but will last up to 2 days in the fridge in a sealed container.
Freeze:
Cool completely, freeze in a single layer, and reheat in the oven at 350°F for best texture.
Reheat:
Oven gives you crispy edges, microwave makes them softer. Both are delicious.
Try other Cauliflower recipes:
