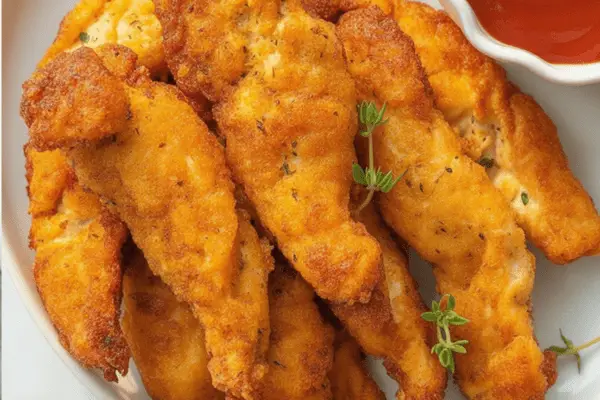
If you’re like me, you know there’s something comforting about a homemade chicken finger. These aren’t just for kids’ lunches—they’re a weeknight lifesaver when everyone’s hungry and you want something satisfying but not deep-fried in a vat of oil.

I started making these when my niece refused anything except “restaurant nuggets.” One batch later and she was hooked on homemade. The best part? They’re air-fried, so clean-up is easy and there’s no greasy mess.
They’re perfect for topping a salad for lunch, packing in a school box, or just eating fresh with your favorite dipping sauce.
What Makes These Air-Fried Chicken Strips Special
Honestly, I use my air fryer so often, it practically lives on my counter. The main reason is the time it saves me, but even more so, it turns out crisp, golden crusts without much oil.
Traditional frying is tasty but messy. Air-frying gives that same crunch with less oil, and no splatters on the stove.
What I love about these chicken fingers is how juicy they stay inside. The coating locks in moisture and the air fryer crisps up the breadcrumbs beautifully.
My family loves them for dinner with homemade fries, and I even make extra to reheat in the toaster oven for quick lunches.
How I Make My Crispy Chicken Fingers
Here’s my own routine for these, with a few tricks I picked up over time.
- Slice the chicken: I usually buy thin-cut chicken cutlets to save time. If you’re working with regular breasts, just butterfly them and pound them slightly so they’re even, then slice into strips.
- Set up the dredging station: Three bowls work best. One for flour (seasoned with salt and pepper), one for beaten eggs, and one for breadcrumbs mixed with grated cheese.
- Bread the strips: Dip each piece in flour first—this helps the egg stick better. Then into the egg, then into the breadcrumb-cheese mix. Don’t rush this part. A good even coating is what gives that amazing crunch.
- Air-fryer prep: I always preheat the air fryer for a few minutes. Spraying both sides of the breaded strips with oil spray helps them turn golden and crisp.
- Cooking: Air fry at 415°F (210°C) for about 9–10 minutes. Flip halfway through to get that even browning.
I like serving them immediately, while they’re hot and crunchy.
My Best Tip for Stress-Free Prep
Buy chicken that’s already sliced into thin cutlets if you can. It makes the whole recipe so much faster. But if you want to save money, just get whole breasts, butterfly them, and pound them thin—it works just as well.
I usually prep the dredging station before I even touch the chicken so there’s less chaos in the kitchen. That way, once I’m breading, I’m not hunting for salt or the whisk.
Variations and Swaps I Use Often
This is one of those recipes that adapts really well. Here’s how I change it up:
- Breadcrumb choice: I love Panko for its bigger, crunchier crumb. But any dry breadcrumb will work. Even Italian-seasoned store-bought gives great flavor.
- Cheese: Parmigiano Reggiano is my favorite for a savory edge, but if you’re out, leave it out or use a milder grated cheese.
- Gluten-free: Almond flour instead of regular flour, plus gluten-free breadcrumbs, works well. It won’t be quite the same crunch but it’s still tasty.
- Oil: Any neutral, high smoke-point oil spray will do—avocado oil, canola, or even olive oil spray if that’s what you have.
I love that you can make these suit whoever’s at the table.
What to Serve Them With at My Table
At home, I rarely serve these on their own. I’m always looking for ways to round out the meal:
- A big green salad with a simple vinaigrette. Sometimes I slice the chicken fingers on top so it’s like a crunchy chicken salad.
- Roasted potatoes or smashed potatoes with a parmesan crust.
- Spicy mayo or homemade ranch for dipping.
- A wrap with lettuce, tomato, and sauce for a quick lunch the next day.
They’re even good cold, if you’re the sort of person who raids the fridge for leftovers.
Questions I Get All the Time
Can I make these without an air fryer?
Definitely. Shallow fry them in oil on the stovetop for a classic result, or bake them at 425°F (220°C) for about 15–20 minutes. If baking, spray them with oil and flip halfway. A wire rack on a baking sheet helps them stay crisp on all sides.
Can I make them gluten-free?
Yes. Just swap the flour and breadcrumbs for gluten-free versions. Almond flour and gluten-free panko are both good options.
What about dairy-free?
Leave out the cheese in the breading. It’ll still crisp up nicely.
Can I use regular chicken breast?
Absolutely. Butterfly them, pound them thinner if needed, and slice into strips.
Can these be made ahead?
Yes. Bread them ahead and keep them in the fridge for a few hours before cooking. I wouldn’t bread them the night before, as the coating can get soggy.
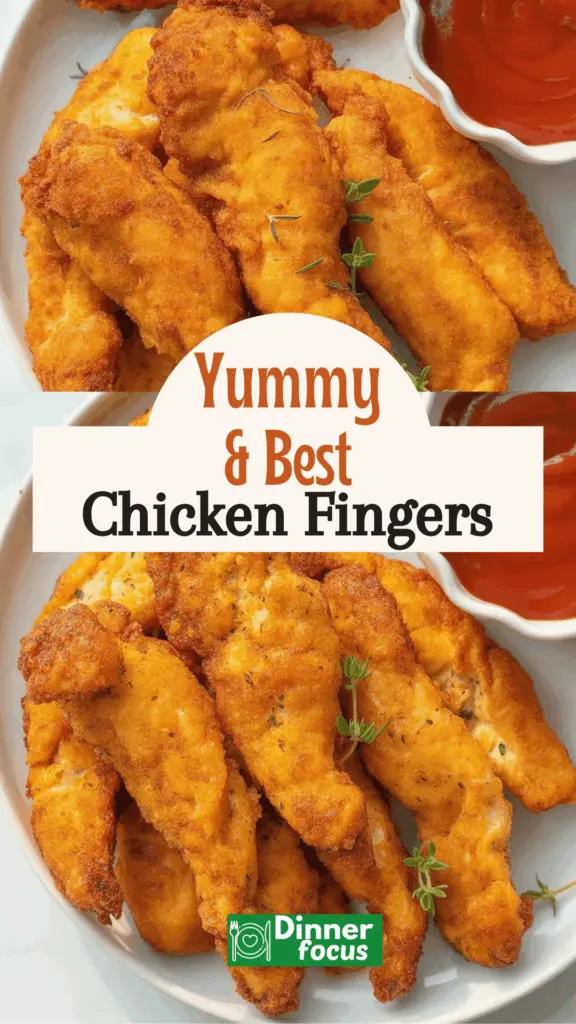
Chicken Fingers
Whether you're packing school lunches or looking for a quick weeknight dinner, these golden chicken fingers are always a hit. They’re tender inside, perfectly crisp outside, and made with just a few simple ingredients.
Ingredients
- ½ cup grated Parmigiano Reggiano
- 1 cup panko breadcrumbs
- ½ teaspoon salt (adjust to taste)
- ¼ teaspoon black pepper
- ½ cup all-purpose flour
- 2 eggs, beaten
- 700g chicken fillets, thinly sliced
- Avocado oil spray
Instructions
- Slice the Chicken: Start by cutting each chicken fillet into 2 or 3 strips, depending on their size. You want them uniform for even cooking.
- Set Up Your Stations: Get three shallow bowls ready. In one, place the flour. In the second, whisk your eggs. In the third, mix the panko and grated cheese. Sprinkle salt and pepper into each bowl to lightly season every layer.
- Bread the Chicken: Dredge each strip in flour, gently shake off the excess, then dip into the egg, and finally coat it generously in the panko-cheese blend. Lay them on a plate as you go.
- Air Fry to Perfection: If your air fryer needs preheating, do that first. Spray both sides of each chicken strip with avocado oil and place them in a single layer in the basket. Cook at 415°F (or 210°C) for 9–10 minutes, flipping halfway through until they’re crisp and golden.
- Serve and Enjoy: These are best enjoyed warm, fresh out of the fryer. They’re great on their own or paired with your favorite dipping sauce.
Nutrition Information
Yield
2Serving Size
1Amount Per Serving Calories 1144Total Fat 34gSaturated Fat 10gTrans Fat 0gUnsaturated Fat 20gCholesterol 505mgSodium 1706mgCarbohydrates 67gFiber 3gSugar 4gProtein 132g
Dinnerfocus.com, occasionally offers nutritional information for recipes contained on this site. This information is provided as a courtesy and is an estimate only. This information comes from online calculators. Although allchickenrecipes.com attempts to provide accurate nutritional information, these figures are only estimates.
If you try these, let me know how they went for you. At my place, they’re a go-to for busy nights and family get-togethers alike. There’s just something satisfying about biting into that golden crust and juicy chicken that never gets old.
Try other Chicken recipes:
