If you’ve ever opened your pantry, spotted that lonely bag of dried chickpeas, and thought, “Ugh, I should’ve soaked these last night,”—this one’s for you. With the Instant Pot, you can skip the soaking altogether and still end up with perfectly tender chickpeas. I’ve been using this method for years now, especially when I want to whip up a batch of hummus or toss chickpeas into salads without planning days ahead.

And trust me, once you’ve tasted home-cooked chickpeas—especially pressure-cooked—you’ll never go back to canned again.
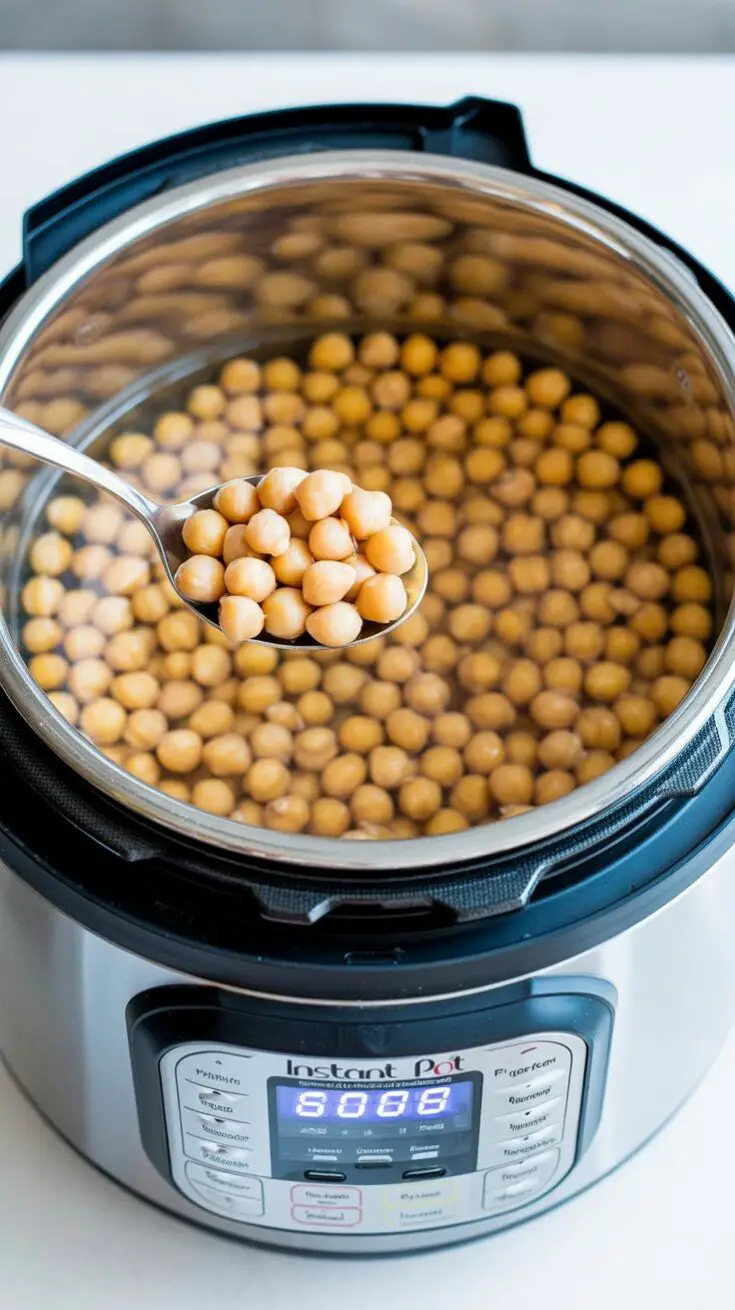
Why This Recipe’s Always on Repeat in My Kitchen
I used to think cooking chickpeas meant babysitting a pot for hours, but the Instant Pot changed that completely. It’s so easy, I’ll often make a batch on Sunday and freeze half for the week ahead. They’re buttery, soft (or chewy if you want!), and taste so much better than the canned stuff.
If I’m making hummus, I go for that ultra-soft texture. But for a salad, I like them a bit firmer—something with a little bite. The great part? You can control the texture with just a slight tweak in cook time.
Also… money saver alert. A bag of dried chickpeas costs way less than the same amount canned. Once you try this, you’ll start skipping the cans completely.
What You’ll Need
-
Dried chickpeas (aka garbanzo beans)
-
Water
-
A pinch of salt
-
Your trusty Instant Pot
That’s it. No fancy ingredients. No soaking overnight. Just basic pantry staples and a little patience.

Step-by-Step: How I Cook Chickpeas in the Instant Pot
Here’s exactly how I do it:
-
Rinse well – Pour the chickpeas into a bowl and give them a good rinse. Remove any wrinkly ones or tiny stones (yep, they sneak in sometimes).
-
Add to the pot – Dump the rinsed chickpeas into your Instant Pot. Add enough water to cover them by about an inch, and sprinkle in some salt. I usually go with a 1:3 ratio (1 cup chickpeas to 3 cups water).
-
Set the time based on your needs:
-
For salads or snacking (firm but tender): High pressure for 45 minutes + 10-minute natural release.
-
For creamy hummus (super soft): High pressure for 50 minutes + 15-minute natural release.
-
Kitchen tip: If they’re still a bit firm after cooking, just pop the lid back on and give them another 5 minutes of pressure with manual release. Happens to me now and then depending on the batch.

Real Talk: Do You Need to Soak Them?
Not really. That’s the beauty of pressure cooking. But if you do soak them (say, you’re a planner), you can reduce the cook time dramatically:
-
Soaked overnight = 15 minutes high pressure (firm) or 18 minutes (super soft)
Reader Q&A (aka What My Friends Always Ask)
Do I have to peel them for hummus?
No, but peeling makes the hummus way smoother. I sometimes do it if I’m serving guests or just feel like making it extra silky. Soaking the cooked chickpeas in water and rubbing them between your palms helps pop the skins off quickly.
Can I save the cooking water?
Absolutely! That starchy liquid is gold. I often add a splash into hummus or soups for more depth and creaminess. It also helps keep chickpeas moist when storing.
Are chickpeas and garbanzo beans the same thing?
Yes! Same bean, just different names depending on where you live or what your grandma called them.
My Favorite Ways to Use Cooked Chickpeas
-
Chickpea salad – My go-to for quick lunches. I mix them with cucumbers, tomatoes, red onion, and a zippy lemon dressing.
-
Soups – Add them to any veggie or lentil soup for extra protein and heartiness.
-
Roasted chickpeas – Toss with olive oil, salt, and spices, then roast until crunchy. Perfect snack.
-
Curries or stews – They soak up flavor beautifully in Indian and Middle Eastern dishes.
-
And of course… hummus – Creamy, dreamy, and so much better than store-bought.
Storing Leftovers Like a Pro
Fridge – Let them cool fully, then store in an airtight container with some cooking liquid. They’ll stay good for 3–5 days.
Freezer – I freeze in 1.5–2 cup portions (like a can size) with a little cooking liquid in zip-top bags. Lay them flat and they’ll thaw in no time. They keep well for up to 3 months.
A Quick Note Before You Go
I can’t count the number of times the Instant Pot has saved me on a busy weekday. Whether it’s these chickpeas, a quick dal, or batch-cooked rice, it’s become my favorite kitchen shortcut.
So next time you’re about to grab a can—give this method a shot. You’ll have better texture, more flavor, and a stash ready for anything from hummus to stew.
Let me know how yours turn out, and if you try something new with them—drop me a line. I’m always looking for fun ways to put chickpeas to work.
Instant Pot Chickpeas
Instant Pot chickpeas are a game changer when you want perfectly cooked legumes without the need for soaking them overnight.
Ingredients
- 2 cups (1 pound) dried chickpeas
- 6 cups water
- 1 teaspoon fine sea salt (optional)
Instructions
- Rinse the dried chickpeas thoroughly, removing any debris, then drain well.
- Place the chickpeas in a 6-quart Instant Pot and add enough water to cover them by about an inch (roughly 6 cups). Add salt if using.
- For chickpeas with a slight chew, perfect for salads, set the Instant Pot to high pressure and cook for 45 minutes, then allow a natural pressure release for 10 minutes before opening.
- For softer, creamier chickpeas suited for hummus, pressure cook for 50 minutes followed by a 15-minute natural pressure release.
- If after cooking the chickpeas aren't soft enough, you can pressure cook them again for an additional 5 minutes with a quick release.
Nutrition Information
Yield
6Serving Size
1Amount Per Serving Calories 90Total Fat 1gSaturated Fat 0gTrans Fat 0gUnsaturated Fat 1gCholesterol 0mgSodium 366mgCarbohydrates 15gFiber 4gSugar 3gProtein 5g
Dinnerfocus.com, occasionally offers nutritional information for recipes contained on this site. This information is provided as a courtesy and is an estimate only. This information comes from online calculators. Although allchickenrecipes.com attempts to provide accurate nutritional information, these figures are only estimates.
Try other Instant Pot recipes:
