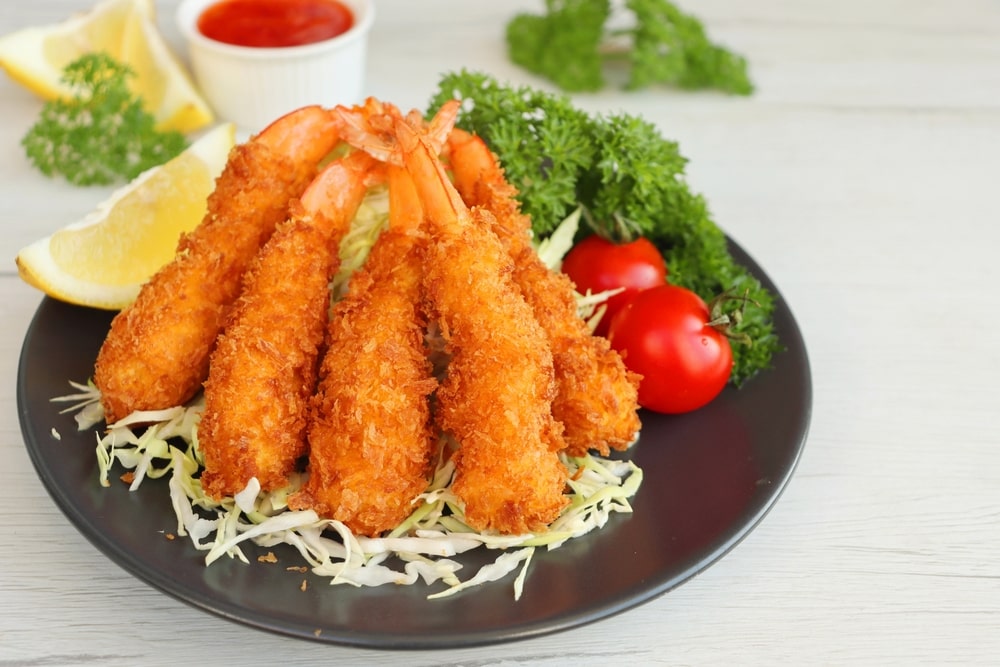
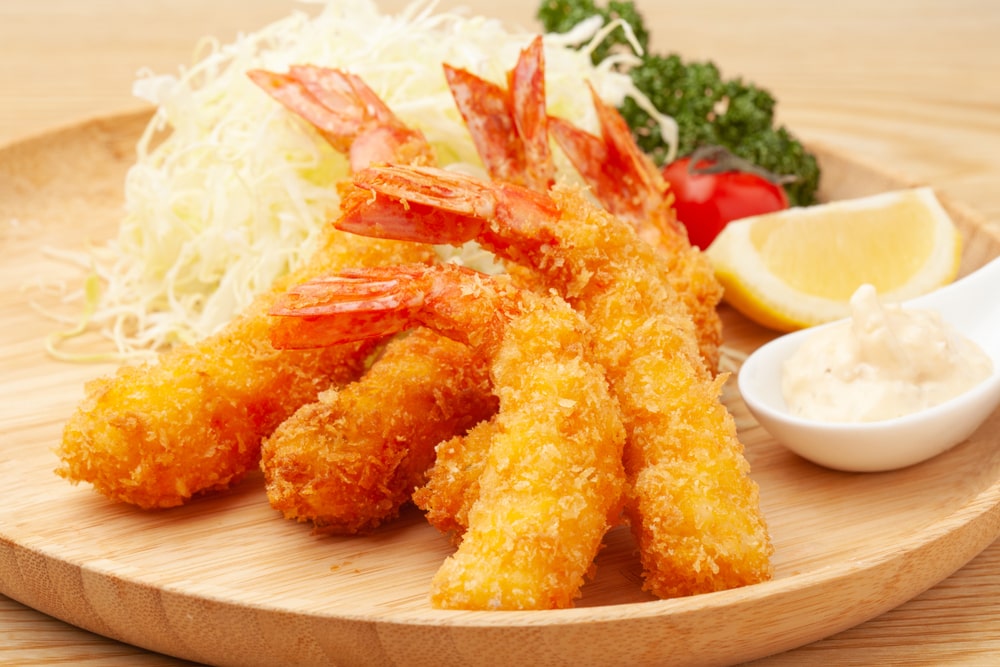
Panko Shrimp – Crispy on the outside and tender on the inside, these Panko Shrimp are the perfect bite-sized treat. Coated in a golden, crunchy layer of panko breadcrumbs, each shrimp is fried to perfection. Paired with a tangy dipping sauce, this dish is a crowd-pleaser at any gathering or a quick and delicious appetizer for a weeknight meal.
Ingredients You’ll Need
- Shrimp: Choose large, peeled, and deveined shrimp for the best texture. You can use fresh or frozen shrimp; if using frozen, make sure to thaw them completely before cooking.
- Panko breadcrumbs: These Japanese breadcrumbs are lighter and flakier than traditional breadcrumbs, giving your shrimp a crispier, airier texture.
- All-purpose flour: For dredging, flour helps the egg wash stick to the shrimp.
- Eggs: Beaten eggs will bind the breadcrumbs to the shrimp.
- Salt and pepper: Basic seasonings to bring out the natural flavor of the shrimp.
- Garlic powder and onion powder: These add a subtle depth of flavor to the crispy coating.
- Paprika: A little smoky paprika can elevate the taste of the shrimp and give it a lovely color.
- Vegetable oil: For frying the shrimp, providing that golden, crispy finish.
- Lemon wedges: A squeeze of fresh lemon just before serving adds a zesty kick that balances the richness of the shrimp.
Tips and Tricks for the Best Panko Shrimp
- Dry shrimp well: Excess moisture can lead to soggy shrimp, so be sure to pat them dry thoroughly before coating.
- Double coat for extra crunch: For a thicker, crunchier coating, dip the shrimp back into the egg wash and panko a second time before frying.
- Fry in batches: Don’t overcrowd the pan, as this can cause the oil temperature to drop, resulting in greasy shrimp.
- Use a thermometer: To achieve the perfect golden color, keep the oil temperature between 350°F to 375°F.
- Oven-bake option: If you’re looking for a healthier version, you can bake the panko shrimp at 400°F for 10-12 minutes, flipping halfway through, for a crispy texture without frying.
Variations of Panko Shrimp
While the basic recipe is delicious on its own, you can experiment with a variety of variations to suit your taste or dietary preferences:
Coconut Panko Shrimp
For a tropical twist, mix shredded coconut into the panko breadcrumbs for added sweetness and texture. The coconut pairs beautifully with shrimp, and it adds a fun, exotic flavor to your dish.
Spicy Panko Shrimp
If you like things hot, try adding a teaspoon of cayenne pepper or chili powder to the panko breadcrumbs. For even more heat, you can drizzle the shrimp with spicy sriracha sauce after frying.
Parmesan Panko Shrimp
For a richer, savory option, mix grated Parmesan cheese into the panko. This will add a cheesy, umami-packed flavor that pairs wonderfully with the shrimp.
Gluten-Free Panko Shrimp
To make a gluten-free version, use gluten-free panko breadcrumbs, which are widely available in stores. You can also use almond flour instead of regular flour for the dredging process.
How to Serve Panko Shrimp
Panko shrimp can be served in a variety of ways depending on your meal:
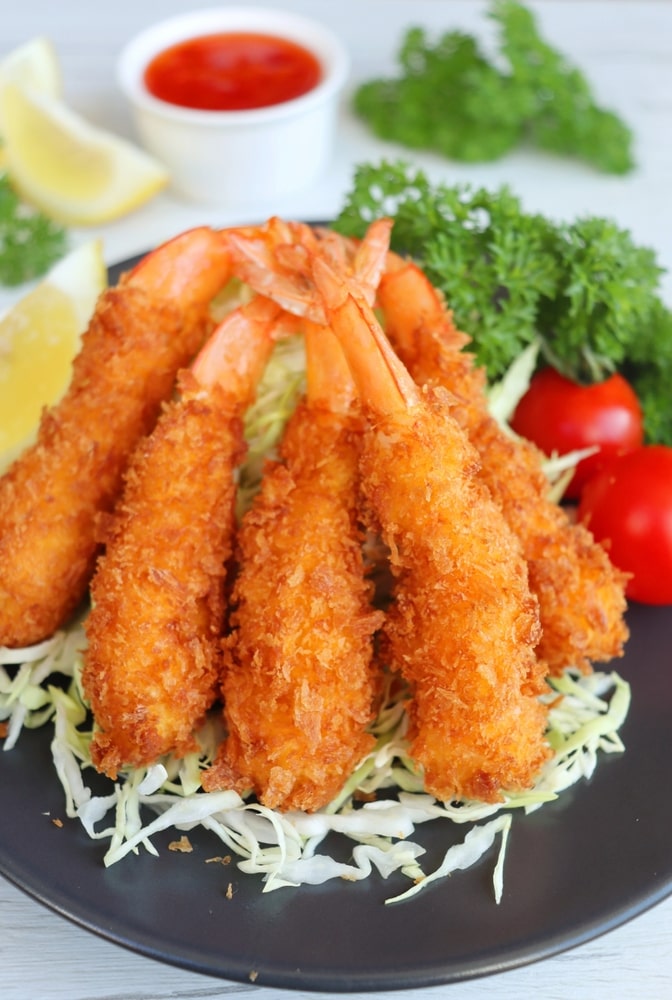
- Appetizer: Serve with a dipping sauce like cocktail sauce, spicy mayo, or garlic butter.
- Main Course: Pair with a side of rice or pasta, and a simple green salad for a well-rounded meal.
- Tacos: For a fun twist, use the crispy shrimp as a filling for soft tacos. Top with shredded cabbage, avocado, and a squeeze of lime for a refreshing bite.
- Sandwich: Panko shrimp also makes a great sandwich filling—add it to a toasted bun with lettuce, tomato, and a creamy sauce for a tasty shrimp burger.
How to Store Panko Shrimp
If you have leftover panko shrimp (though it’s unlikely!), store it in an airtight container in the refrigerator for up to 2 days. However, keep in mind that the crispy texture will diminish when stored. To reheat, place the shrimp on a baking sheet in a preheated oven at 375°F for 5-7 minutes, or until crispy again.
For long-term storage, you can freeze the cooked shrimp. Place the shrimp in a single layer on a baking sheet and freeze until solid, then transfer them to a freezer-safe bag or container. When ready to enjoy, reheat in the oven or air fryer.
Recipe FAQs
1. Can I make panko shrimp ahead of time?
Yes! You can prep the shrimp, coat them in breadcrumbs, and refrigerate them for up to 4 hours before frying. Just be sure to let them come to room temperature before cooking for the best results.
2. Can I bake panko shrimp instead of frying?
Absolutely! To bake the shrimp, preheat the oven to 400°F and place the shrimp on a greased baking sheet. Bake for 10-12 minutes, flipping halfway through. For extra crispiness, you can lightly spray the shrimp with cooking spray before baking.
3. What can I use instead of panko breadcrumbs?
If you don’t have panko, you can substitute regular breadcrumbs or even crushed crackers. However, the texture won’t be as light and crispy as panko, so try to find some if you can.
4. How do I know when the shrimp is cooked through?
Shrimp cooks very quickly, usually in just 2-3 minutes per side. It will turn a pinkish-orange color when done, and the flesh will be opaque and firm to the touch.
5. Can I use frozen shrimp for this recipe?
Yes! Just make sure to thaw the shrimp completely and pat them dry before coating them in the breadcrumbs. This helps the coating stick better.
Panko Shrimp (Crispy Fried)
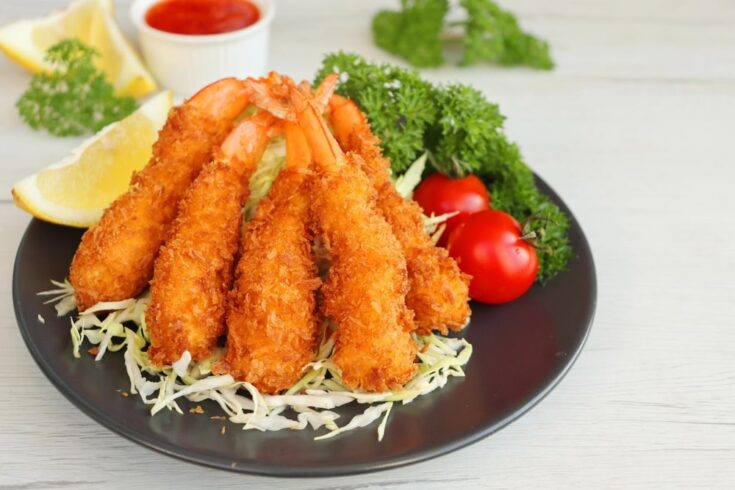
Panko Shrimp - Crispy on the outside and tender on the inside, these Panko Shrimp are the perfect bite-sized treat. Coated in a golden, crunchy layer of panko breadcrumbs, each shrimp is fried to perfection. Paired with a tangy dipping sauce, this dish is a crowd-pleaser at any gathering or a quick and delicious appetizer for a weeknight meal.
Ingredients
- 1 pound shrimp, medium sized, peeled and deveined, tails attached
- 1 cup all-purpose flour
- ½ teaspoon garlic powder
- 1 teaspoon paprika
- ½ teaspoon ground black pepper
- ½ teaspoon salt
- 1 cup panko crumbs
- 2 large eggs, beaten
- 4 cups vegetable oil, for frying
Instructions
- Season shrimp with salt, pepper, and garlic powder.
- In a shallow bowl, combine flour and paprika.
- In another bowl, beat the eggs and in the third bowl place the panko.
- Heat a skillet over medium high heat to 375 degrees F.
- Dip shrimp into flour mixture, then dip into egg, and finally into the panko to coat well.
- Add the shrimp in the hot oil and fry for about 5 minutes or until golden brown.
- Transfer to paper lined towels and serve with your favorite dipping.
Nutrition Information
Yield
4Serving Size
1Amount Per Serving Calories 580Total Fat 56gSaturated Fat 4gTrans Fat 1gUnsaturated Fat 49gCholesterol 83mgSodium 393mgCarbohydrates 11gFiber 1gSugar 0gProtein 9g
Easy Shrimp Recipes.com, occasionally offers nutritional information for recipes contained on this site. This information is provided as a courtesy and is an estimate only. This information comes from online calculators. Although allchickenrecipes.com attempts to provide accurate nutritional information, these figures are only estimates.
Check my other shrimp recipes:
Conclusion
Panko shrimp is a timeless seafood dish that’s incredibly versatile and delicious. Whether you prefer it crispy and light, or with extra flavor and spice, this recipe is a must-try for anyone who loves seafood. With the right techniques and a few fun variations, you’ll have perfectly crispy panko shrimp that will be the star of your next meal. Happy cooking!
