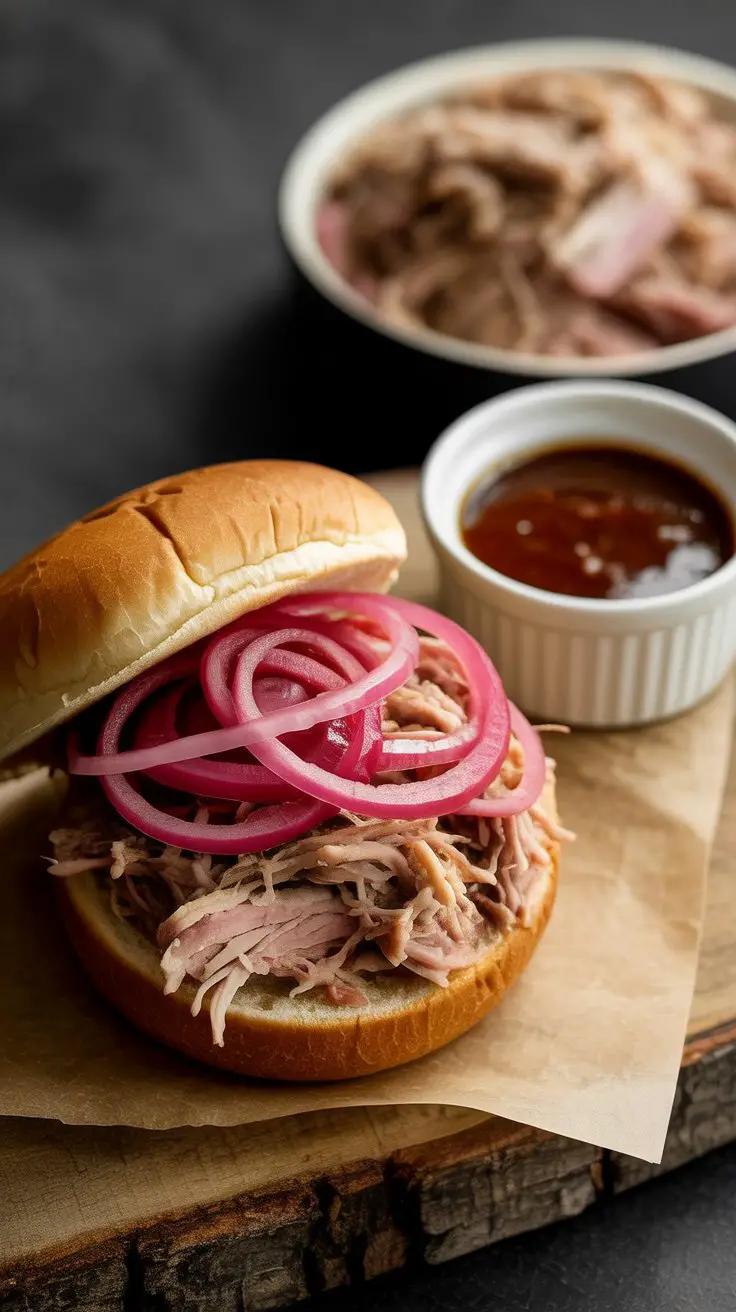
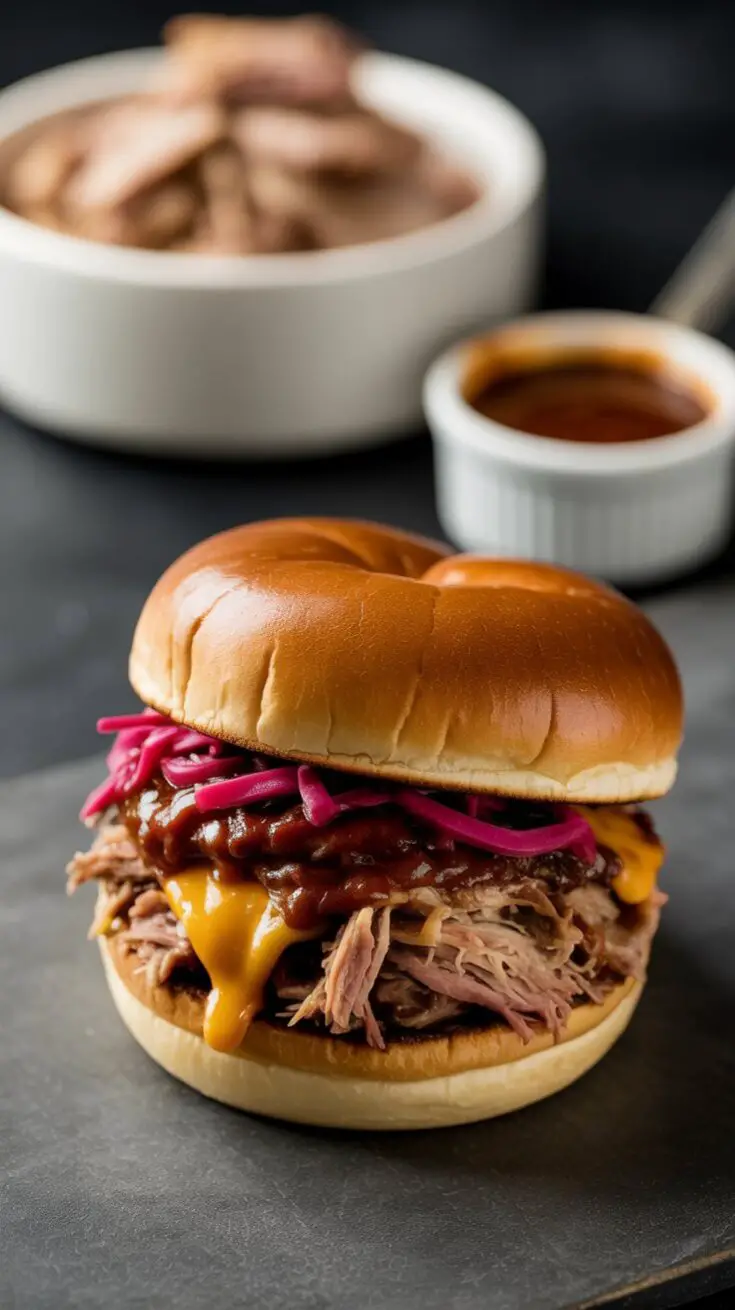
If you’re looking to feed a crowd without stressing last-minute, this sous vide pulled pork is one of my absolute favorite “set-it-and-forget-it” meals. It’s juicy, tender, and pulls apart effortlessly—and the best part is, you barely have to babysit it. I usually get it going the night before, let it do its thing while I sleep, and by the next evening, we’re ready to pile it high on buns with smoky BBQ sauce and some tangy pickled onions.
 Why This Recipe Always Comes Through
One of the reasons I love making this pulled pork is how forgiving and low-effort it is. The sous vide keeps everything at the perfect temperature so the pork never overcooks or dries out. I’ve done this on weekends when we’ve had friends over, and no matter what, everyone ends up asking for seconds. It’s especially handy when I want to prep ahead—I’ll bag the pork with the rub, pop it in the water bath, and just carry on with my day.
It also makes amazing leftovers. We’ve had it in tacos, salads, sandwiches, and even over flatbread pizza. If you’re the type who likes to meal prep once and eat well all week, this one’s a keeper.
What Is Sous Vide Cooking (In Real Talk)?
So, in case you’re new to this, sous vide just means cooking your food slowly in a water bath at a steady temperature. You vacuum seal the food (or use a ziplock with the water displacement trick), and the immersion circulator keeps the water exactly at the temperature you want. That means no overcooking, no drying out—just perfectly cooked pork, every single time.
I use this technique for everything from steak to eggs, but with pork shoulder? It’s a total winner.
What You’ll Need
-
Pork Shoulder (3–5 lbs) – I usually grab a boneless pork butt from the store. It’s fatty in the best way, which makes the meat rich and tender after a slow sous vide.
-
Homemade Pork Rub – A blend of smoky, sweet, and spicy flavors. I always make my own since it lets me adjust it to my taste.
-
Hamburger Buns – Brioche buns are my favorite—they hold the juiciness without getting soggy.
-
BBQ Sauce – Use whatever you love, but if you have the time, homemade makes this even better.
-
Pickled Red Onions – A little tang cuts through the richness. I make these in advance and keep a jar in the fridge.
 Step-by-Step: How I Make It
1. Toast and Grind the Spices
Start by toasting your whole spices in a dry skillet until they smell amazing. Don’t walk away—they can burn fast. Once they cool, grind them down into your pork rub.
2. Set Up the Sous Vide
I set my sous vide water bath to 165°F. That’s the sweet spot for pull-apart texture.
3. Season the Pork
Rub the pork all over with your spice mix. I usually go heavy-handed here—any extra rub just gets saved for next time.
4. Bag It Up
Vacuum seal the pork, or use a sturdy zip-top bag and push the air out with the water displacement method. I clip it to the edge of the container to keep it from floating.
5. Cook for 24 Hours
Let it go low and slow. I usually set it up overnight, then go about my day knowing dinner’s taken care of.
6. Cool in an Ice Bath
Once it’s done, drop the whole bag into an ice bath for 10–15 minutes. It helps stop the cooking and makes it easier to handle.
7. Get the Smoke On
Wrap some wood chips in foil, poke a few holes in the top, and set it on the grill next to the flame. Heat the grill to 275–300°F. Place the pork (carefully!) on a foil-lined baking sheet and grill it for about an hour.
That hour adds just enough smoky flavor to mimic that outdoor barbecue vibe—without babysitting a smoker all day.
8. Shred and Serve
After a little rest, shred the pork using two forks. It practically falls apart. Load up your buns, drizzle with BBQ sauce, top with pickled onions, and maybe even pour a bit of that cooking liquid back over the top for good measure.

 How I Make Quick Pickled Onions
I slice a red onion thin and mix it with rice vinegar, a little honey, hot water, and crushed red pepper. Let it sit in the fridge for at least three hours (I usually do this the night before).
They last about a week and I use them on everything—tacos, salads, even avocado toast.
Real-World Tips That Actually Help
-
Seal it tight. Don’t skip vacuum sealing or water displacement. You want zero air in that bag.
-
Bag floating? Weigh it down with a towel or use a sous vide sinker. Releasing trapped air from ziplocks mid-cook helps too.
-
Water level matters. Cover your container with foil or a lid to reduce evaporation over 24 hours.
-
No grill? Use your oven broiler or a smoker instead of the grill step.
-
Reserve the juices. They’re packed with flavor. I drizzle a little over the pork before serving or mix them into the sauce.
Your Questions Answered
Do I have to smoke it afterward?
Nope, but it does add that BBQ touch. If you skip it, just broil for a few minutes in the oven to develop some color.
What’s the best sous vide temperature for pulled pork?
165°F works best for me. It’s tender but not mushy, and perfect for shredding.
Can I use frozen pork?
Yes, just add an extra hour or two to the cook time.
How long does it cook?
24 hours is the magic number for that fall-apart texture.
Make Ahead and Freezing Tips
You can totally prep this in advance. After it’s done with the ice bath, keep the sealed bag in the fridge for up to 5 days, or toss it in the freezer for up to 3 months.
To reheat, place the sealed bag back into a 165°F water bath for about 15 minutes. Then, go ahead with the smoking and shredding like normal.
Sous Vide Korean BBQ Pork Loin
If you’ve never tried pulled pork made with sous vide, you’re in for a serious treat. This method gives you incredibly juicy, fall-apart pork with rich smoky flavor—and it couldn’t be more hands-off.
Ingredients
For the Pork:
- 3–5 lb pork shoulder (butt cut)
- 8–12 soft hamburger buns
- Your favorite BBQ sauce, for serving
- Pickled red onions (see below)
Dry Rub:
- 3 tbsp salt
- 2 tbsp smoked paprika
- 1 tbsp coriander seeds, toasted and ground
- 3 tbsp brown sugar
- 1 tbsp chili powder
- 1 tbsp cumin seeds, toasted and ground
- 1 ½ tsp yellow mustard seeds, toasted and ground
- 1 tsp black pepper
- ½ tsp cayenne pepper
Pickled Onions:
- 1 red onion, thinly sliced
- ½ cup rice wine vinegar
- ½ cup water
- 2 tbsp honey
- 1 tsp salt
- ½ tsp crushed red pepper flakes (add more for heat)
Instructions
- Start by toasting all whole spices in a dry skillet over medium heat. Shake the pan frequently and toast just until aromatic, about 3 minutes. Set aside to cool, then grind them finely.
- Combine the ground spices with the rest of the rub ingredients in a small bowl. Coat the pork shoulder thoroughly on all sides with the rub. You might have a little leftover—save it for next time!
- Seal the pork in a vacuum bag or a zip-top bag using the water displacement method. Preheat your sous vide bath to 165°F (74°C), and once it reaches temperature, submerge the pork. Make sure it stays fully under the water for the entire 24-hour cook—use a sous vide weight or a heavy towel if needed.
- After 24 hours, transfer the pork (in the bag) to an ice bath for 10–15 minutes to cool it down. Meanwhile, if you're using a gas grill, wrap a handful of wood chips in foil and poke holes in the top to let the smoke escape. Place it near the burner and preheat the grill to 275–300°F.
- Carefully remove the pork from the bag—it's tender! Save the juices if you’d like to use them instead of BBQ sauce.
- Place the pork shoulder on a foil-lined baking sheet and smoke it on the grill for 1 hour to develop a flavorful bark. Let it rest for 10 minutes before shredding.
- Use two forks (or your fingers) to pull the pork apart directly on the tray. Pile it onto buns, add BBQ sauce, and top with the pickled onions.
- For the Pickled Onions : Stir together the water, vinegar, honey, salt, and red pepper flakes until the honey dissolves (you can gently warm the honey if needed). Pour the mixture over the sliced onions in a bowl or jar, cover, and refrigerate for at least 3 hours. These keep well in the fridge for about a week.
Notes
- Always remove as much air as possible from the bag to avoid bacteria and ensure even cooking.
- If your bag floats, open a corner and let out excess air or weigh it down.
- During the long cook, monitor the water level in your sous vide container. Covering the container can help reduce evaporation.
- A smoker works great in place of the grill-and-foil method for the final smoke.
Nutrition Information
Yield
12Serving Size
1Amount Per Serving Calories 12561Total Fat 401gSaturated Fat 132gTrans Fat 0gUnsaturated Fat 230gCholesterol 1191mgSodium 18460mgCarbohydrates 1571gFiber 67gSugar 206gProtein 616g
Dinnerfocus.com, occasionally offers nutritional information for recipes contained on this site. This information is provided as a courtesy and is an estimate only. This information comes from online calculators. Although allchickenrecipes.com attempts to provide accurate nutritional information, these figures are only estimates.
My Favorite Ways to Serve It
-
Classic Sandwich Style: Piled on soft buns with barbecue sauce and pickled onions.
-
Taco Night: Add slaw and a spicy crema for pork tacos.
-
Pizza Topping: Especially on flatbreads with onions and cheese.
-
Over a Salad: Tossed over greens with a tangy vinaigrette.
-
Party Platter: Serve with chips, nachos, and spicy dips.
I often pair it with jalapeño poppers, a chilled pasta salad, and grilled corn when I’m hosting. Leftovers go into wraps or stir-fried rice later in the week.
Try other Pork Loin recipes:
